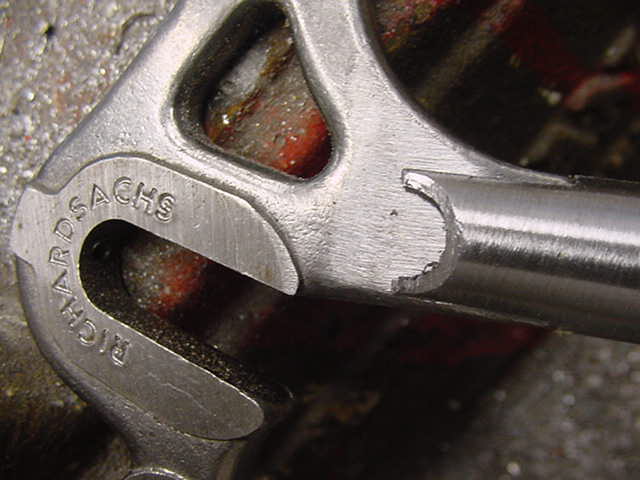
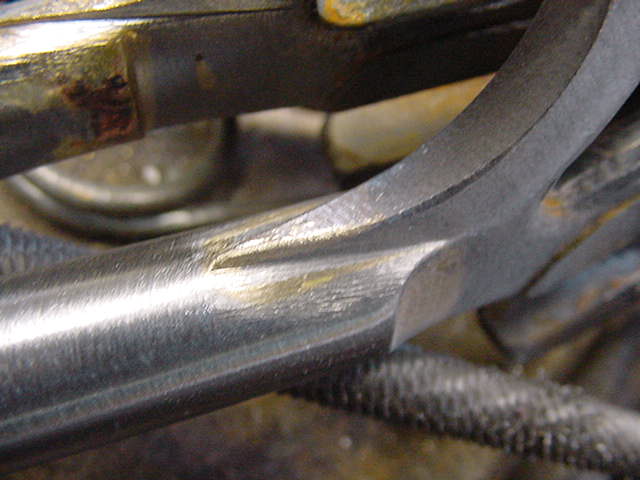
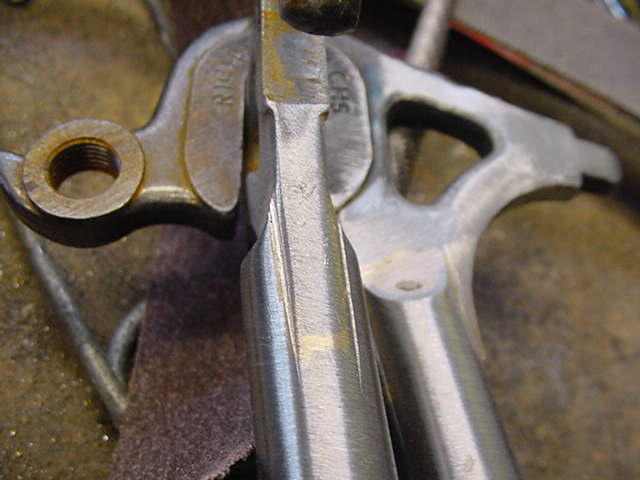
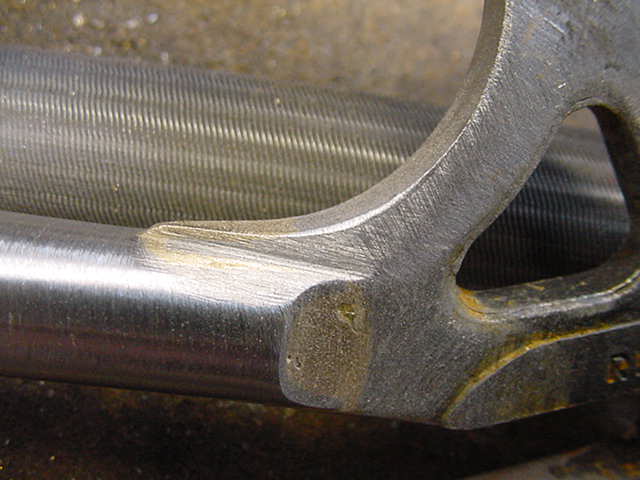
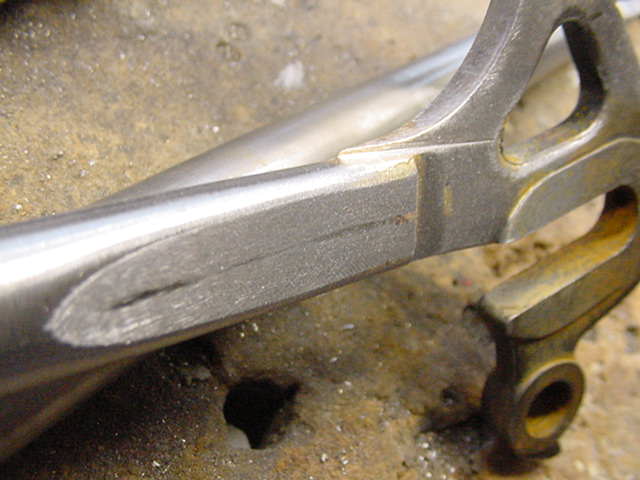
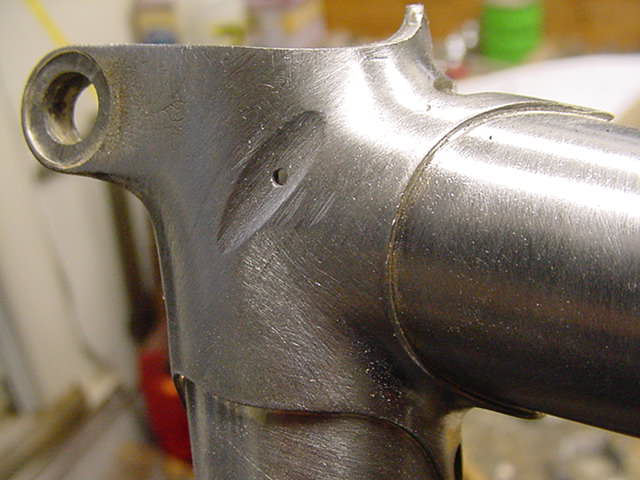
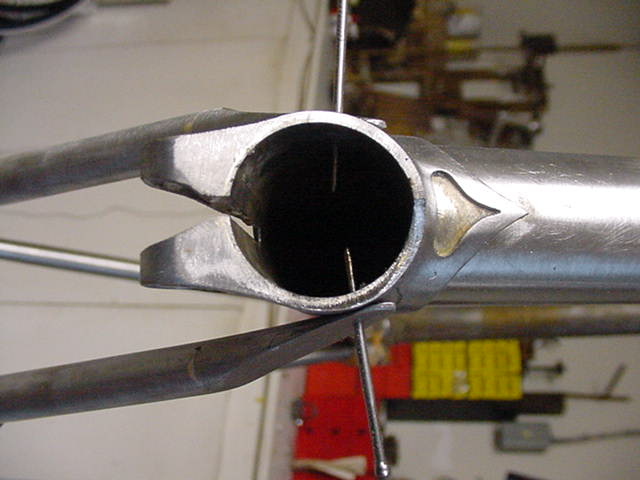
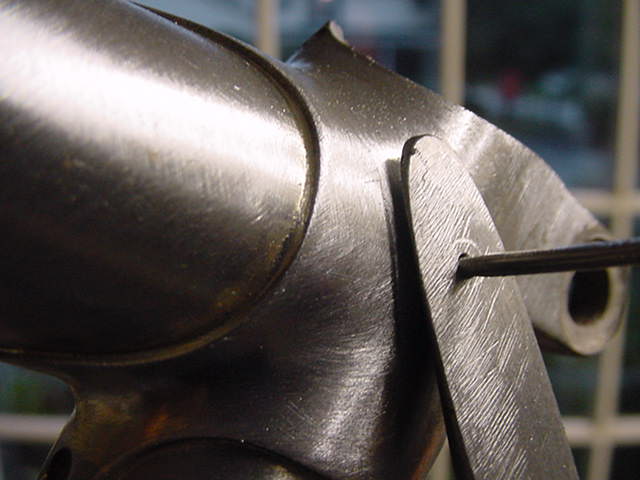
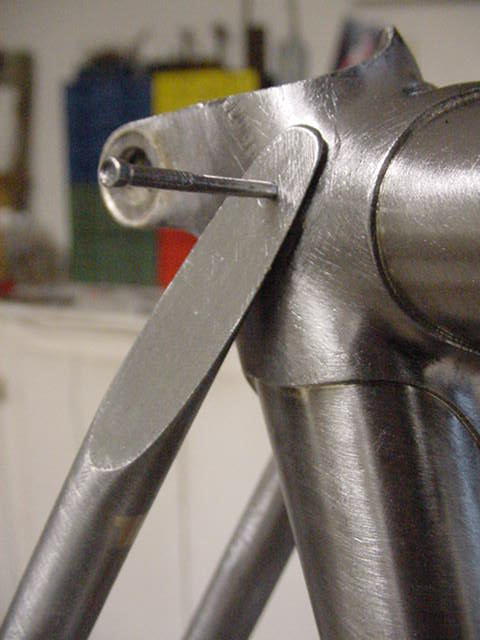
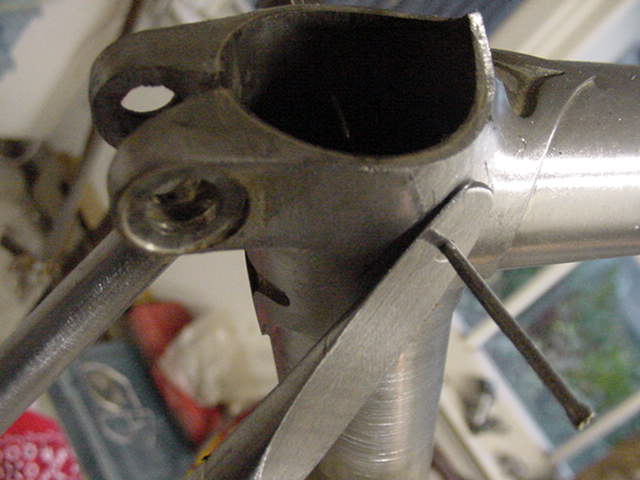
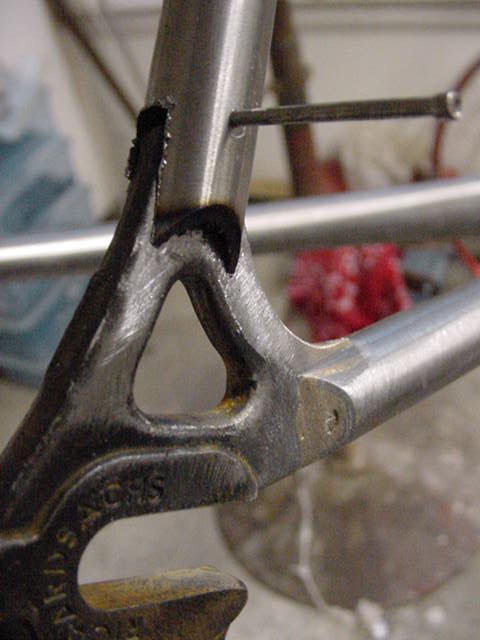
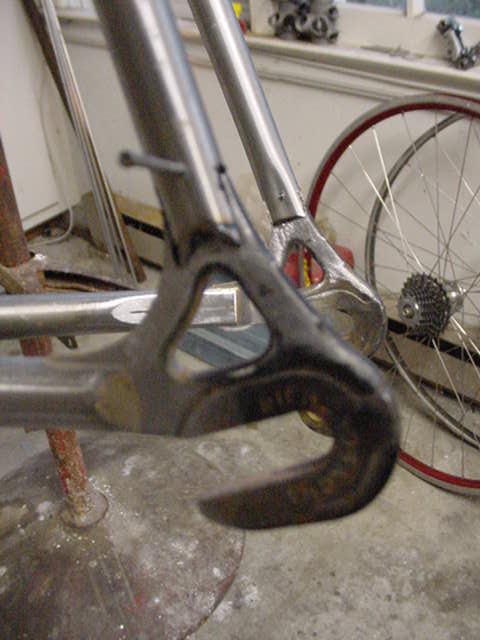
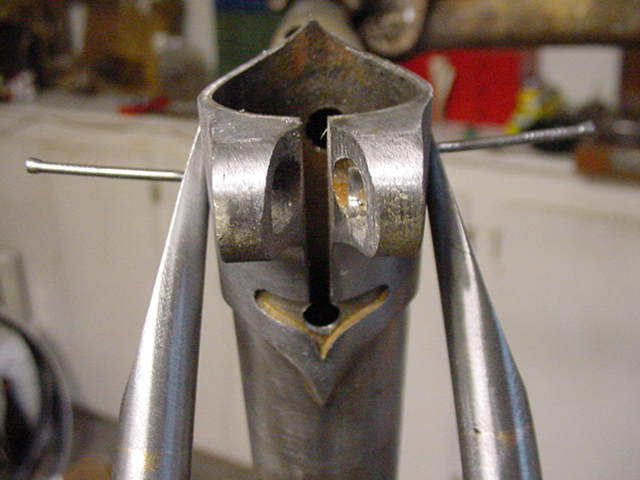
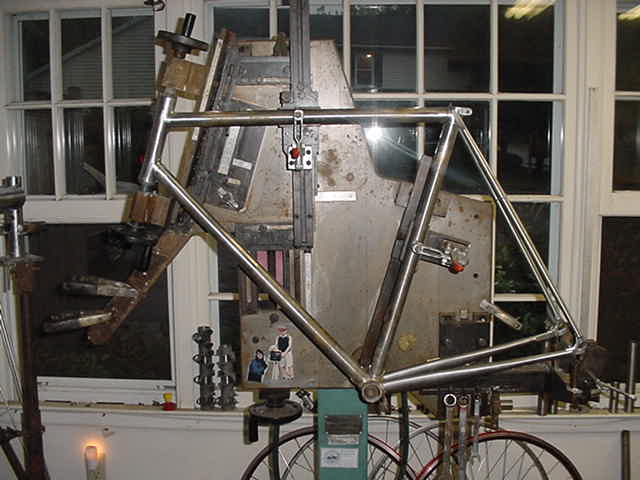
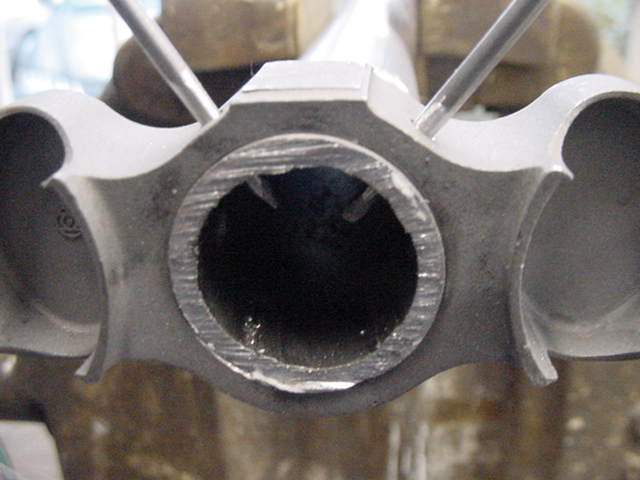
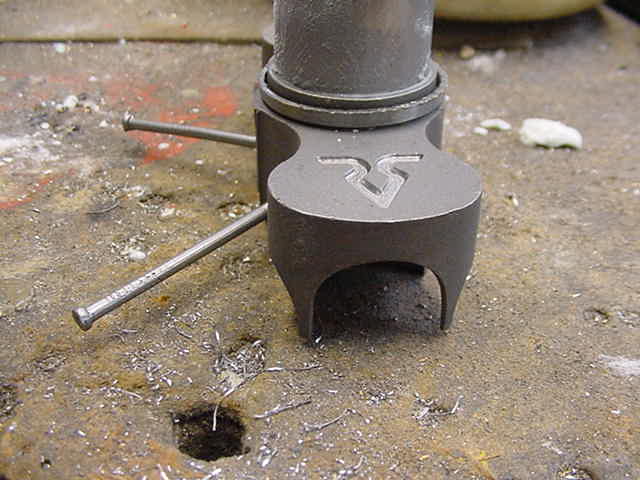
We're getting down to the final steps . . . In these photos, we see how the seatstays  from the previous installment are fitted to the rear dropouts.  Both sets of stays are then tacked to the front triangle, ready for brazing.  We also see the first steps in assembling the forks, with Richard's signature flat, engraved fork crown.

1morenorris.jpg (39125 bytes)
Remember the dropouts?

2morenorris.jpg (39647 bytes)
First, they are brazed to the chainstays . . .

3morenorris.jpg (39685 bytes)
. . . then comes lots of filing.

4morenorris.jpg (39632 bytes)
5morenorris.jpg (39517 bytes) 6morenorris.jpg (39237 bytes) 7morenorris.jpg (40485 bytes) 8morenorris.jpg (40334 bytes)
Now, Richard is ready to fit the stays to the seat lug and to the tops of the dropouts. 41morenorris.jpg (39997 bytes) 51morenorris.jpg (39427 bytes) 30morenorris.jpg (39914 bytes)
31morenorris.jpg (39813 bytes)
Plain old finish nails keep everything in place.
32morenorris.jpg (43564 bytes) 33morenorris.jpg (43359 bytes) 34morenorris.jpg (40632 bytes)
35morenorris.jpg (43525 bytes) 36morenorris.jpg (49704 bytes) 37morenorris.jpg (40651 bytes) 38morenorris.jpg (39216 bytes)
39morenorris.jpg (40784 bytes)
The almost finished frame, ready in the framebuilding jig for brazing.
11morenorris.jpg (40518 bytes)
First step on the forks: attaching the steering tube. It, too, has to be perfectly aligned . . .
12morenorris.jpg (58959 bytes)
. . . and it's held in place with nails, too!
13morenorris.jpg (40654 bytes)