| It's been a couple of years since
Campagnolo introduced their new Ultra Torque crank design, but it wasn't
until recently that we decided to try it out on one of our bikes.
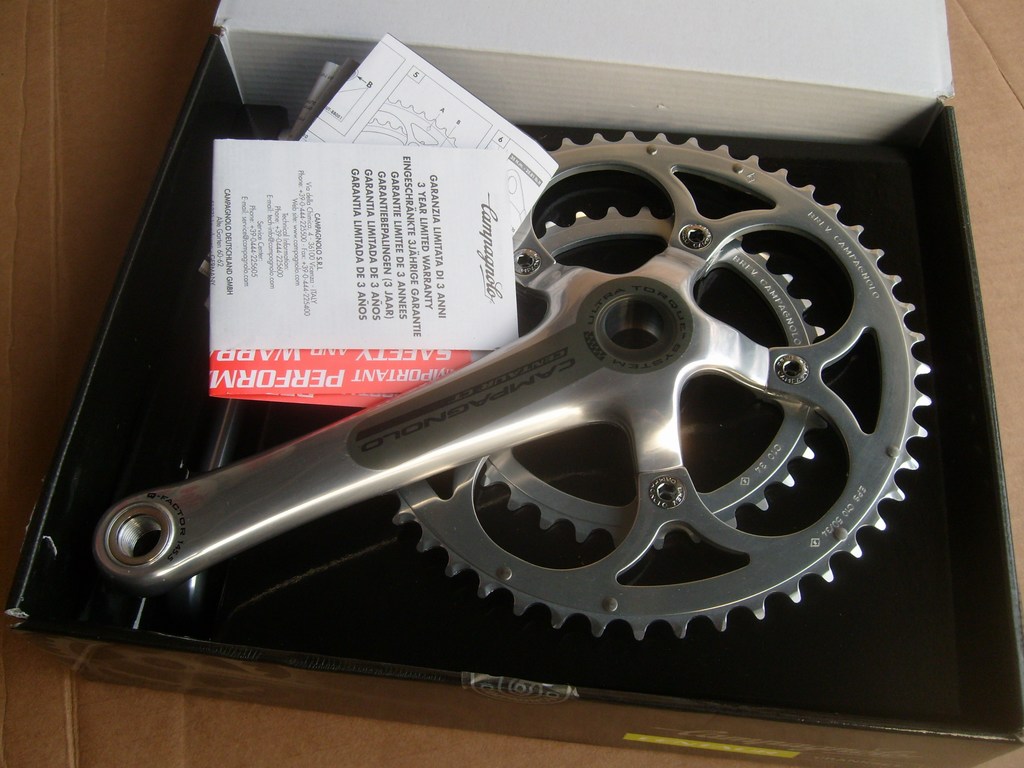
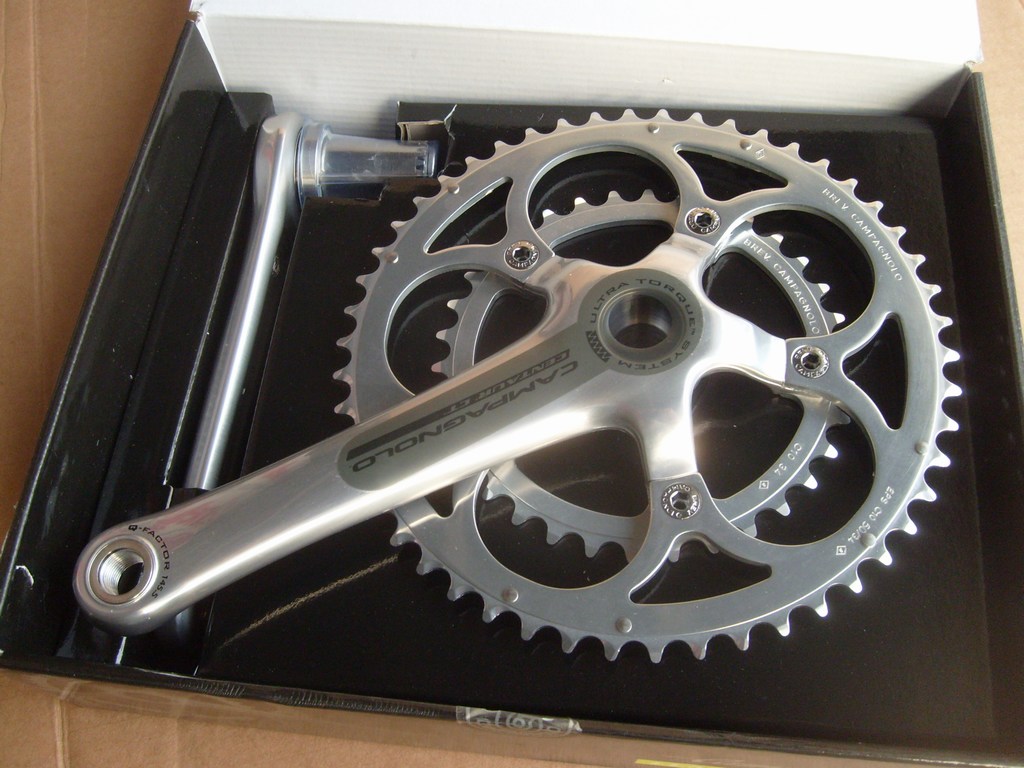
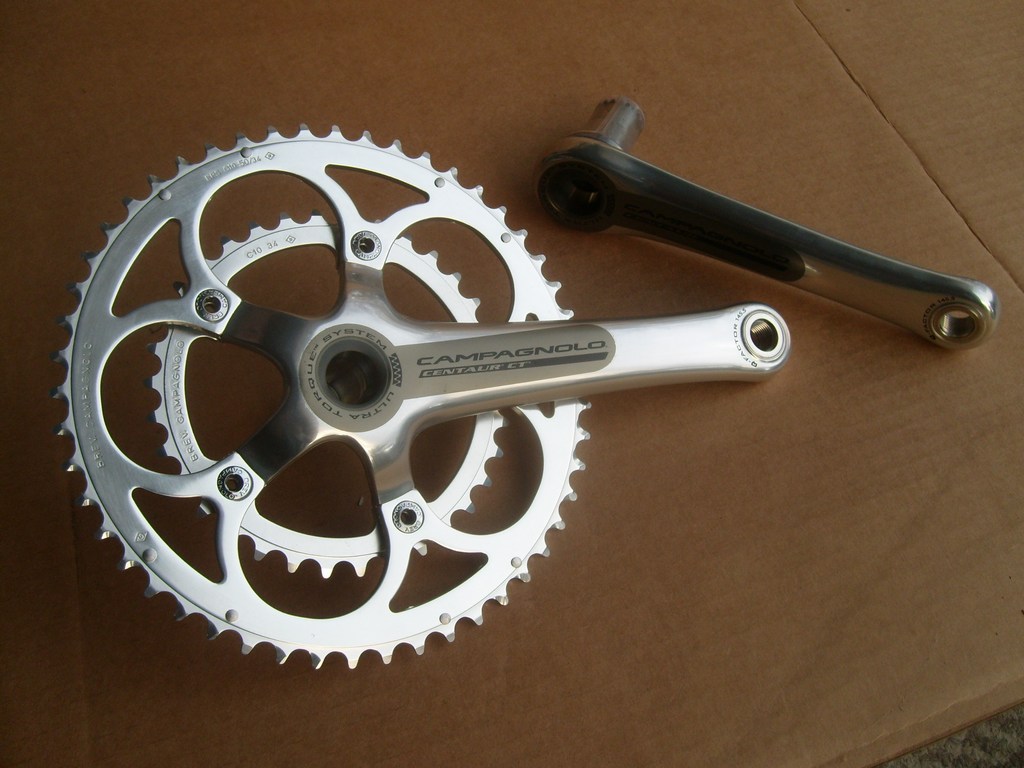
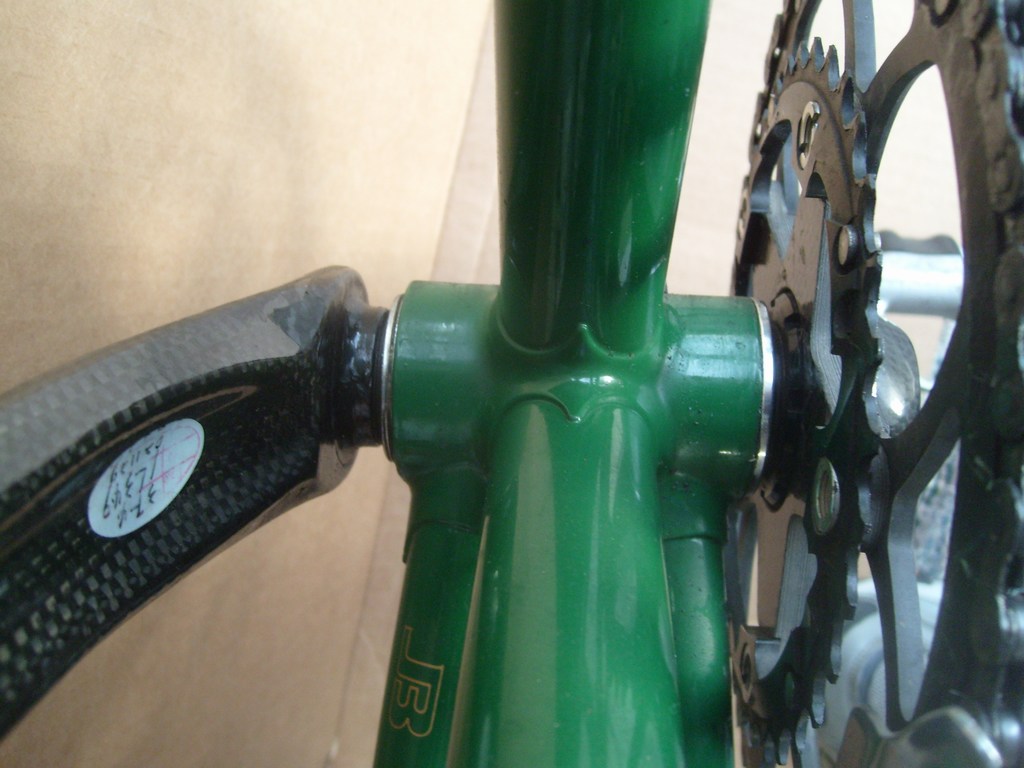
We eventually opted for an alloy version of the Centaur Compact crankset,
with 50/34 rings, for our Campy-equipped Rivendell
Road.
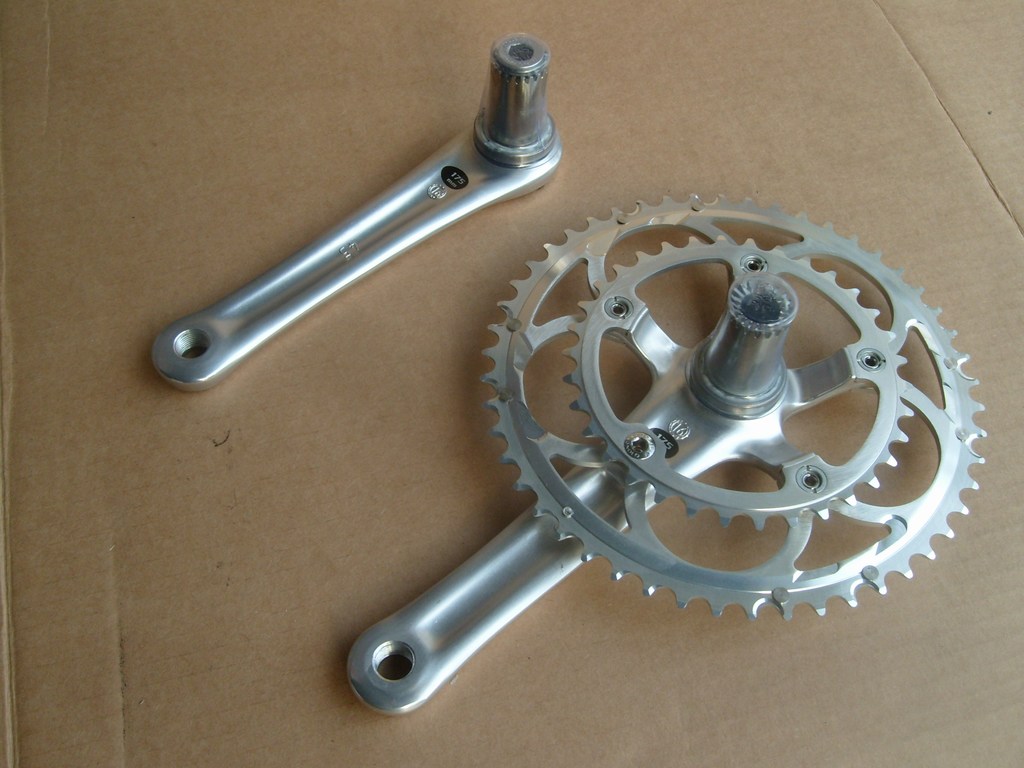
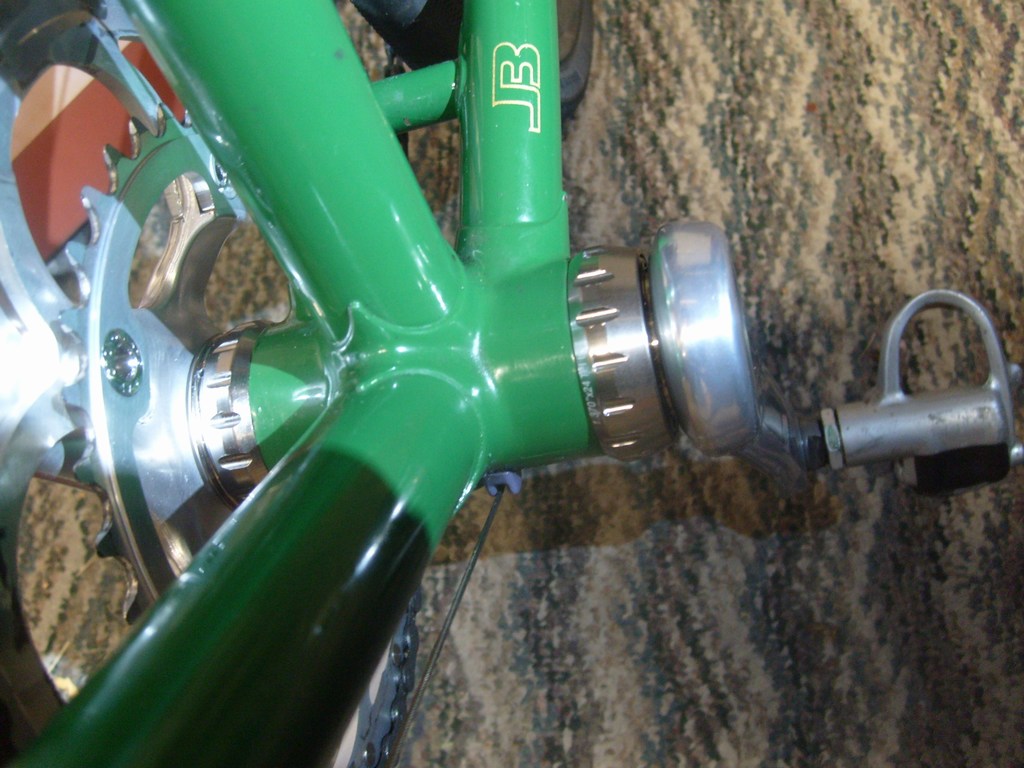
Why did it take so long? Several reasons. We we skeptical of the new design, which relies on two sets of teeth meshing together perfectly where the halves of the split bottom bracket spindle meet inside the frame. Experts in mechanical design that we talked to told us the design would creak, because the joint had to meet with a level of accuracy that couldn't be obtained with typical bicycle construction. We were also put off by the price--Ultra Torque originally came out only in carbon, ensuring that the price would remain high. But when the Centaur version came out in alloy, the price came down to a level we could afford and we had the chance to put an alloy crankset on the Rivendell (something we'd been meaning to do for a while). So ... presented below the photos are our notes on installing and using Campagnolo's newest design.
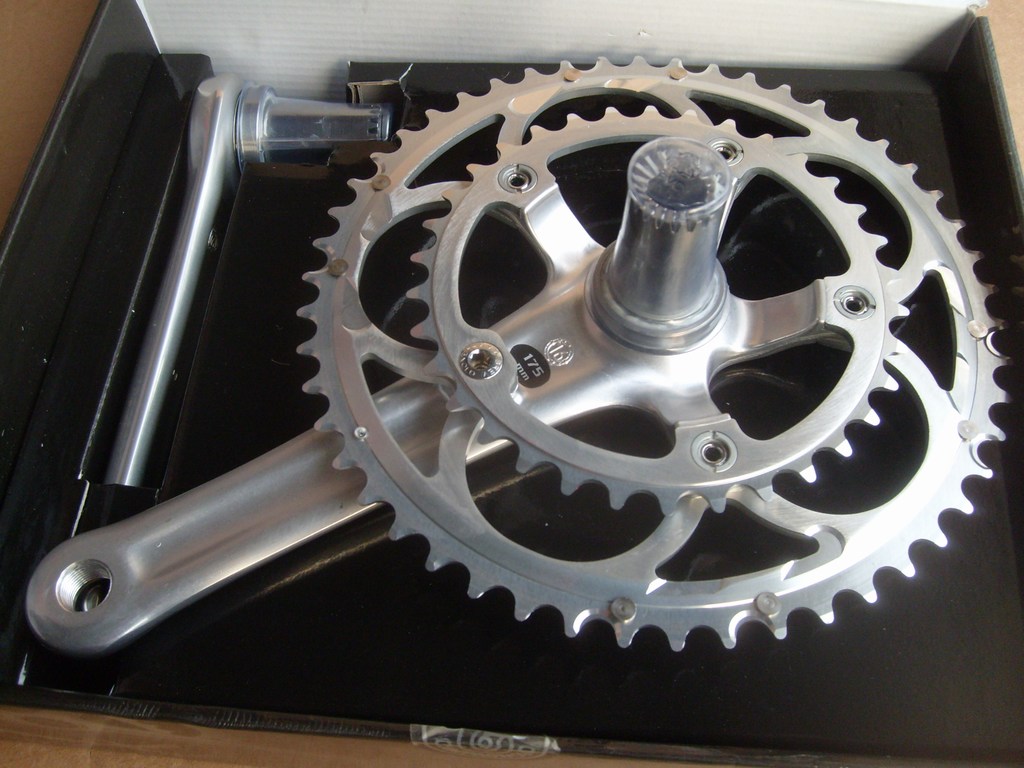
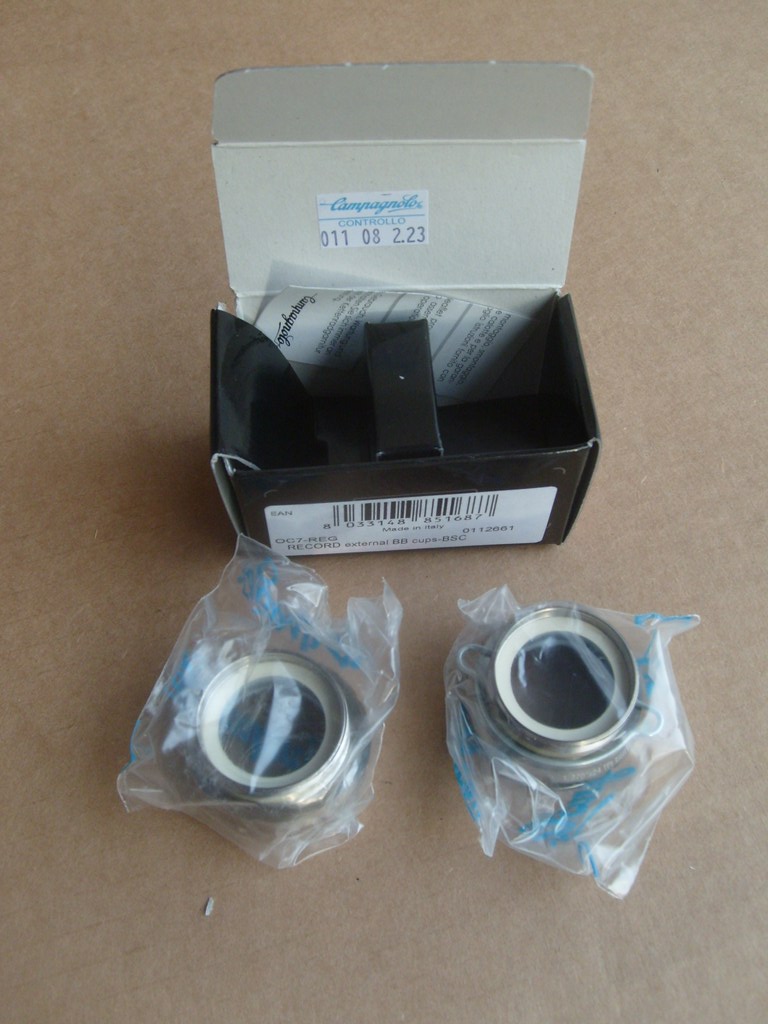
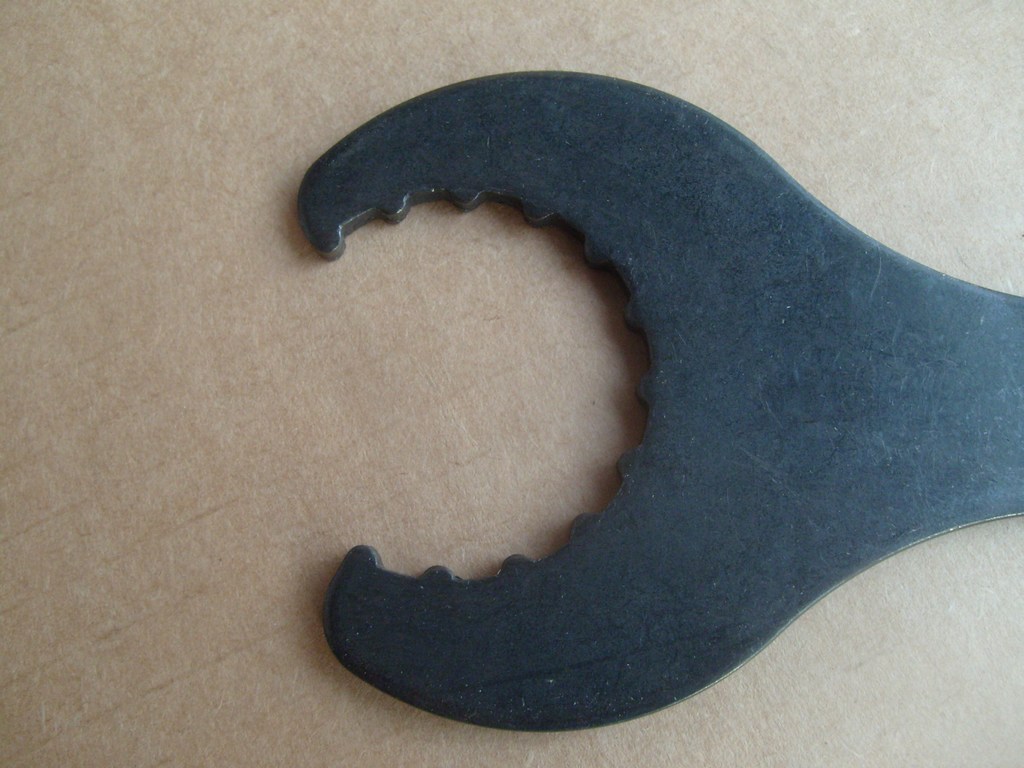
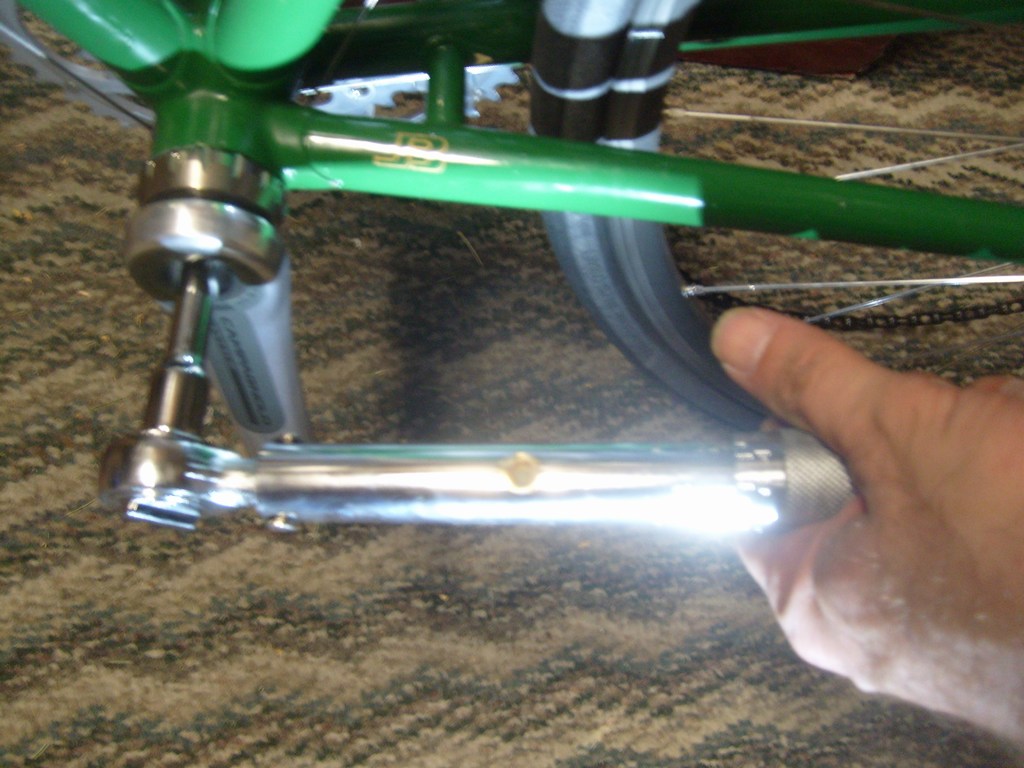
The Install This is without a doubt the easiest crankset installation you will ever do. Basically, once you have taken out the old crankset and bottom bracket and cleaned the threads on the frame, the installation involves inserting and tightening three things: two outboard bearings and the single bolt that holds the two halves of the crankset together. There is no need to adjust anything. In fact there is no way to adjust anything. Tighten it down and you're done. Some install notes:
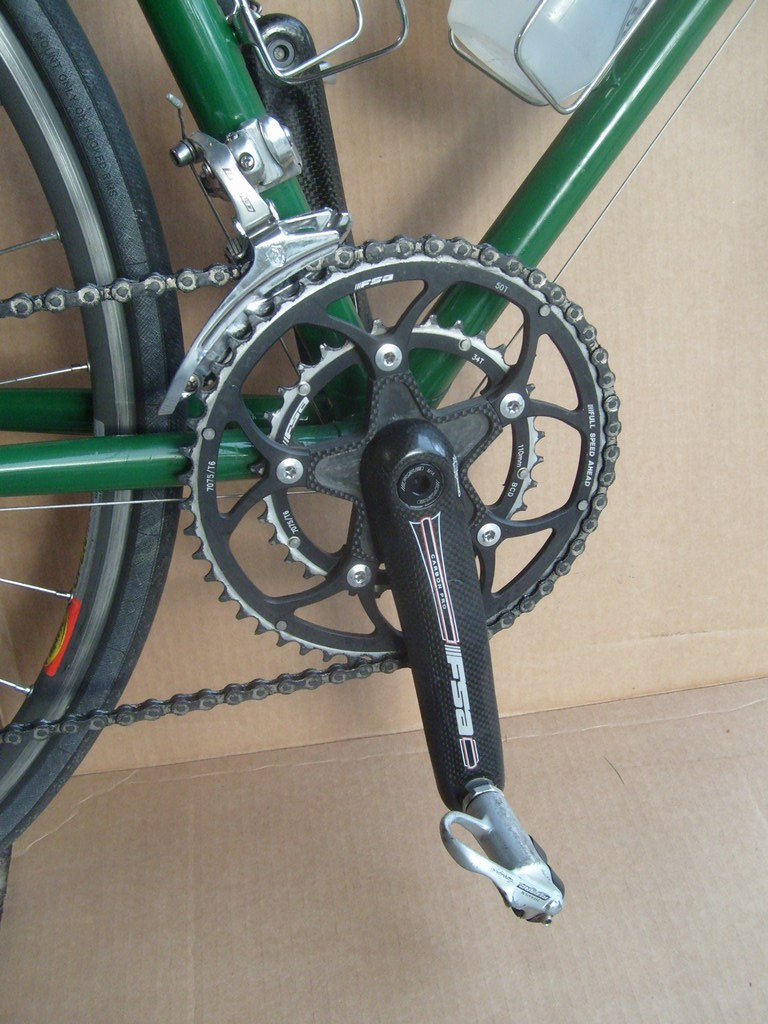
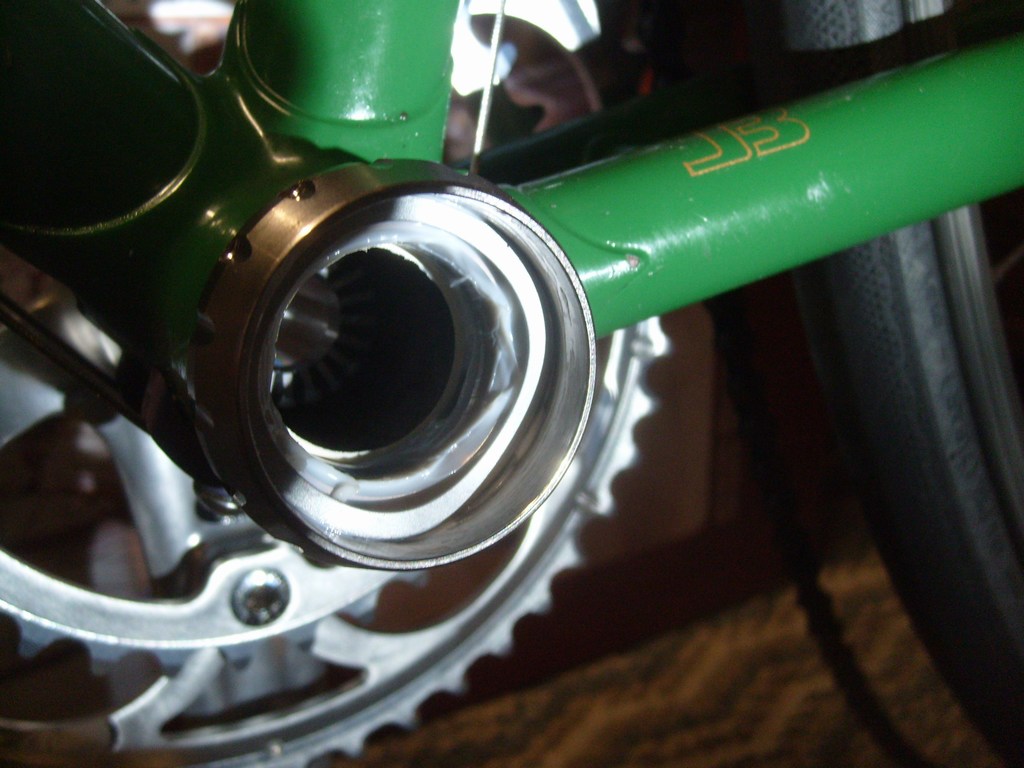
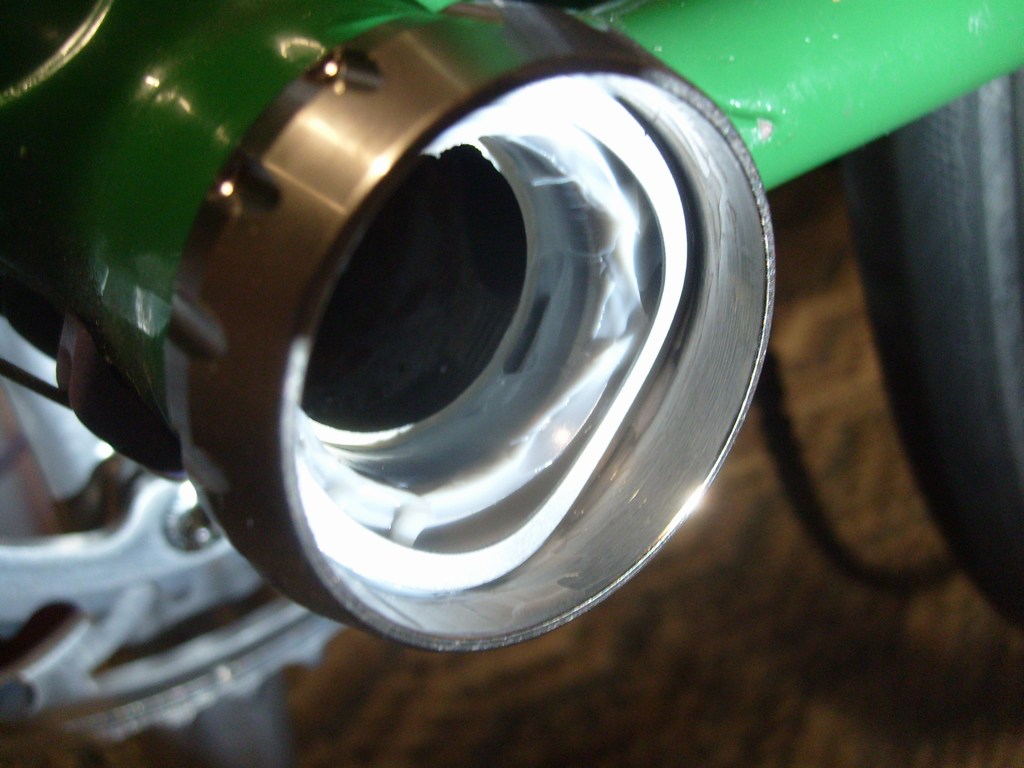
With the crank install completed, we put our Rivendell in a work stand and tried shifting. Inexplicably, the same "triple" derailleur that worked perfectly on our FSA crankset with 50/34 rings didn't work with the 50/34 Centaur crankset. We eventually found a standard front derailleur that worked perfectly. Lesson: You don't need a special "compact" derailleur (in fact, we've heard this same thing from mechanics--one local bike shop that installs a lot of compact cranks always uses a standard derailleur). Riding Ultra Torque What does a crankset need to do? It needs to turn smoothly, hold the chain, shift well, and turn as much of your effort into forward motion and as little as possible into flex. Oh, and it should also look good. Based on our experience over several months, Ultra Torque scores highly on all these points. Despite the predictions of creaking at the joint where the crank halves meet, the crankset is totally quiet. Without the crankarm/spindle interface of a traditional crankset, there's even less chance for creaking, and there's no need to go back and retighten. Stiffness is great, probably in part because the smaller, compact chainrings don't offer as much chance for flex. Looks are also nice. Campagnolo still doesn't match the finish of the old Nuovo/Super Record cranksets, which were polished on the front and back sides. Our Centaur crankset is nicely finished on the front; the back is unpolished and not as nice. The hollow design of the crankset-you can look through the bottom bracket--took some getting used to. We're pleased at least that it doesn't attract dirt like we thought it would. Conclusion We can definitely recommend the Ultra Torque crankset. As we often do, we suggest buying a less expensive Chorus or Centaur design unless you simply must have Record. Comments? Let us know about your Ultra Torque experiences--use the email link below. |