| May 2006--Tucked among the other
displays at the recent North American Handbuilt Bicycle Show in San
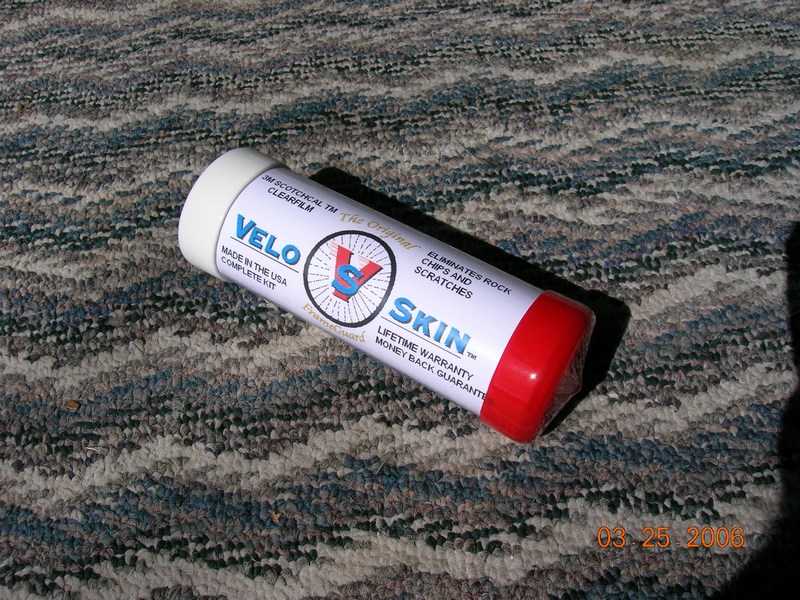
Jose, CA, was a product called "Veloskin," a self-adhesive
protective coating that you apply to the tubes on your bicycle. We
were intrigued and contacted the manufacturer (at www.veloskin.com)
and asked for a sample kit to try out on one of our bikes. They
did, so here are our impressions of the product:
The Need Our first thought on seeing the Veloskin display was, "This would be great for the Raysport!" Our latest bike rides nicely and looks good, but the paint is very ... fragile. It scratches very easily (although for the price we admit we're more than pleased). A product that would prevent scratches and chips would be perfect. The Product
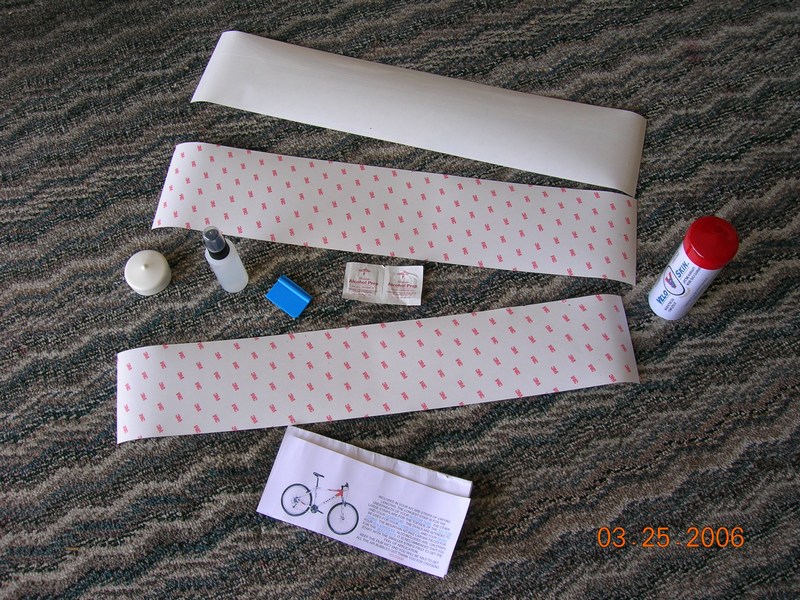
Putting Veloskin on your frame is a relatively simple process. However, to quote one of our sponsor's slogans, "It's simple, but not easy." Here are the basic steps: First, clean the frame thoroughly. Veloskin will trap and preserve any dirt or dust on your frame and keep it there forever, so if you don't want to see it, clean it off.
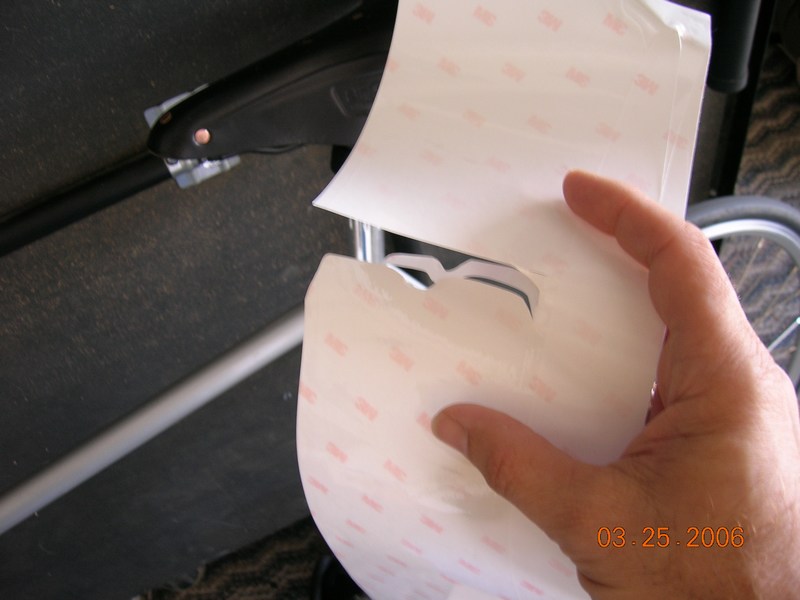
Although Veloskin is somewhat flexible (less so than we had hoped), it won't conform to any kind of ridge on frame, such as braze-ons or lugs. For our Raysport, we cut gentle curves in the film that fit around the points of the frame's chrome-plated lugs. (Installation was made easier by the lack of brake or cable brazeons--we would have needed to trim around those as well.)
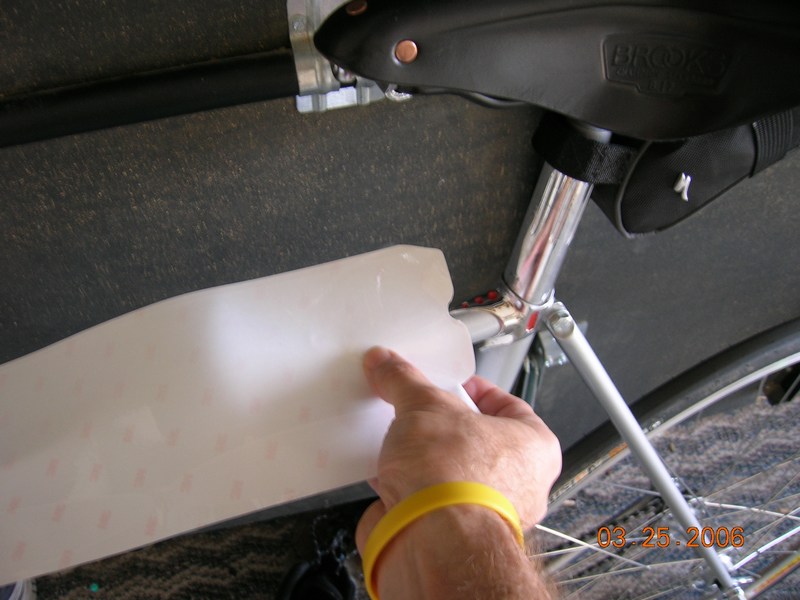
This is where you will spend most of your time--removing the soap solution you just sprayed on. It takes a long, long time. The benefit of the soap solution is that it keeps the film from "grabbing" and sticking immediately, allowing you to move the film around. On the negative side, the soap-slicked film moves around a lot. The piece on our top tube shifted around quite a bit--by the time we got all the soap out, it was out of alignment, but we figured only we would know, so we left it. As a test, we applied several smaller pieces to our bike's chainstays without the soap film, and got very good results.
Other than a minor glitch on our top tube, where the film moved around a bit, our installation went smoothly. Once it is applied, Veloskin is visible, if you get close enough to the frame. It's very clear and very glossy, but yes, you can spot the edge of the film (although, as we noted above, if you spent a lot more time and really trimmed it so that the film's edge met with the edges of your frame's lugs, it could be made less visible. As a test, we didn't tell any of our friends that we had put Veloskin on the Raysport--nobody mentioned it, which we interpret as meaning they couldn't spot it. Veloskin has done a great job protecting the paint on our frame. We applied it to the areas we thought would be most susceptible to chips: the top tube, the bottom of the downtube, the back of the seat tube, and the outer sides of the forks and stays. It would also make a great chainstay protector on the inside of the drive-side chainstay (we didn't put film there, because our fixed-gear drivetrain doesn't have chain slop in it). It's hard to imagine how anything short of a concerted attack on the frame would affect the Veloskin--in our experience road dirt, grime, etc. wash off easily. It's also very shiny, adding an attractive gloss finish. Summary At $40 for a one-bike kit, Veloskin is a bit pricey, but if it can help preserve your bike's paint and prevent a $500 repaint, it may be well worth it (a less-expensive kit that requires more trimming is also available). We would recommend it particularly for any bike that may get banged around a bit; we're not sure we would put it on top of a fine paint job. The film is very discrete, but it can be seen--if you're looking for a perfectly invisible covering, don't use it. Veloskin's web site: www.veloskin.com
|